Remote Due Blink
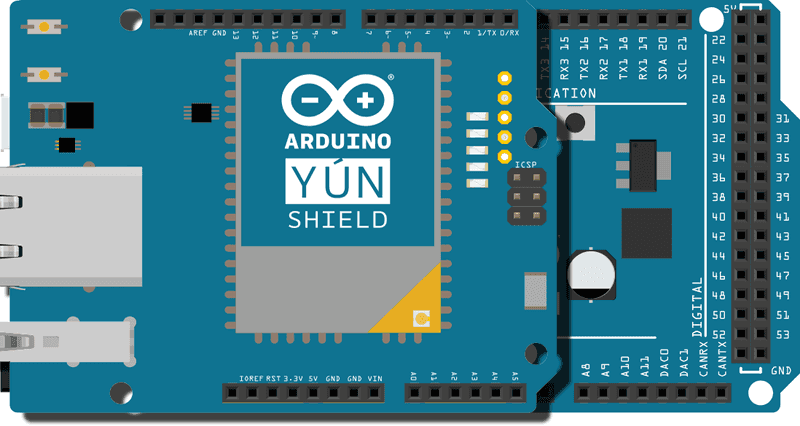
This is a special version of the basic Blink example. It's made for demonstrating how to enable the possibility to upload a sketch on a DUE board and a Yún shield using the remote upload feature (via WiFi or Ethernet) offered by the Arduino Software (IDE).
Preparing Arduino Due for remote upload
The only instruction added to the basic Blink is the checkForRemoteSketchUpdate() function. As suggested by the name this instruction is responsible to check if there is a new sketch to upload on the board. This is required only on the Due because you need to erase the flash before uploading a new sketch. The same action is performed automatically when you upload a sketch using any of the USB ports.
To enable the remote upload feature you need to upload this sketch the first time with the USB cable and then make sure you will include the checkForRemoteSketchUpdate() function in all other sketches at the beginning of the setup() function. If you forget to include it, you will need to upload the sketch again via USB port; it could be a voluntary choice to stop the remote upload functionality.
Hardware required
Arduino DUE board
Yún shield (optional, for subsequent remote upload via WiFi)
Circuit
The sketch must be uploaded using USB, then the next upload may use the Yún Shield and WiFi.

image developed using Fritzing. For more circuit examples, see the Fritzing project page
Code
The complete sketch is below :
/*

  Blink

  Turns on an LED on for one second, then off for one second, repeatedly.

  Most Arduinos have an on-board LED you can control. On the Uno and

  Leonardo, it is attached to digital pin 13. If you're unsure what

  pin the on-board LED is connected to on your Arduino model, check

  the documentation at http://www.arduino.cc

  This example code is in the public domain.

  modified 8 May 2014

  by Scott Fitzgerald

  modified by Marco Brianza to show the remote sketch update feature on Arduino Due using Yún Shield

 */

#include <Bridge.h>

// the setup function runs once when you press reset or power the board
void setup() {

  checkForRemoteSketchUpdate();

  // initialize digital pin 13 as an output.

  pinMode(13, OUTPUT);
}

// the loop function runs over and over again forever
void loop() {

  digitalWrite(13, HIGH);   // turn the LED on (HIGH is the voltage level)

  delay(100);              // wait for a second

  digitalWrite(13, LOW);    // turn the LED off by making the voltage LOW

  delay(100);              // wait for a second
}
See Also
Bridge Library - Your reference to the Bridge Library
Bridge - Simple REST style calls to access analog and digital pins
Console Ascii Table - A complete ASCII table printed to the Console
Console Pixel - Turn an LED on and off through the Console
Console Read - Read data coming from bridge using the Console.read() function
Data Logger - Log data from three analog sensors to an SD card.
File Write - How to write file into the Yún filesystem.
Http Client - A basic HTTP client that connects to the internet and downloads content.
Http Client Console - HTTP client that connects, downloads content and shows it using WiFi and Console.
Mailbox Read Message - How to read the messages queue, called Mailbox, using the Bridge library.
Process - How to run linux processes using an Yún.
Shell Commands - How to run linux shell commands using a Yún.
Temperature Web Panel - How to serve data from an analog input via the Yún's built-in webserver.
Time check - Gets the time from Linux via Bridge then parses out hours, minutes and seconds.
WiFi Status - Prints information about the status of your wifi connection.
Yún First Configuration - Easily configure your Yún device using Serial Monitor and USB port.
Serial Terminal - Use the Yún's 32U4 processor as a serial terminal for the Linux side on the Yún.
Last revision 2016/05/25 by SM