Arduino Playground is read-only starting December 31st, 2018. For more info please look at this Forum Post
MINISMARTGPU - Intelligent Embedded Graphics Processor Unit
 _srz_p_350_414_75_22_0.50_1.20_0.00_jpg_srz
Presentation:
This page presents a library to use a MINISMARTGPU intelligent embedded graphics processor with a color 1.8" screen from vizic technologies: http://www.vizictechnologies.com/#!mini-smartgpu/cx09
The LCD module features are:
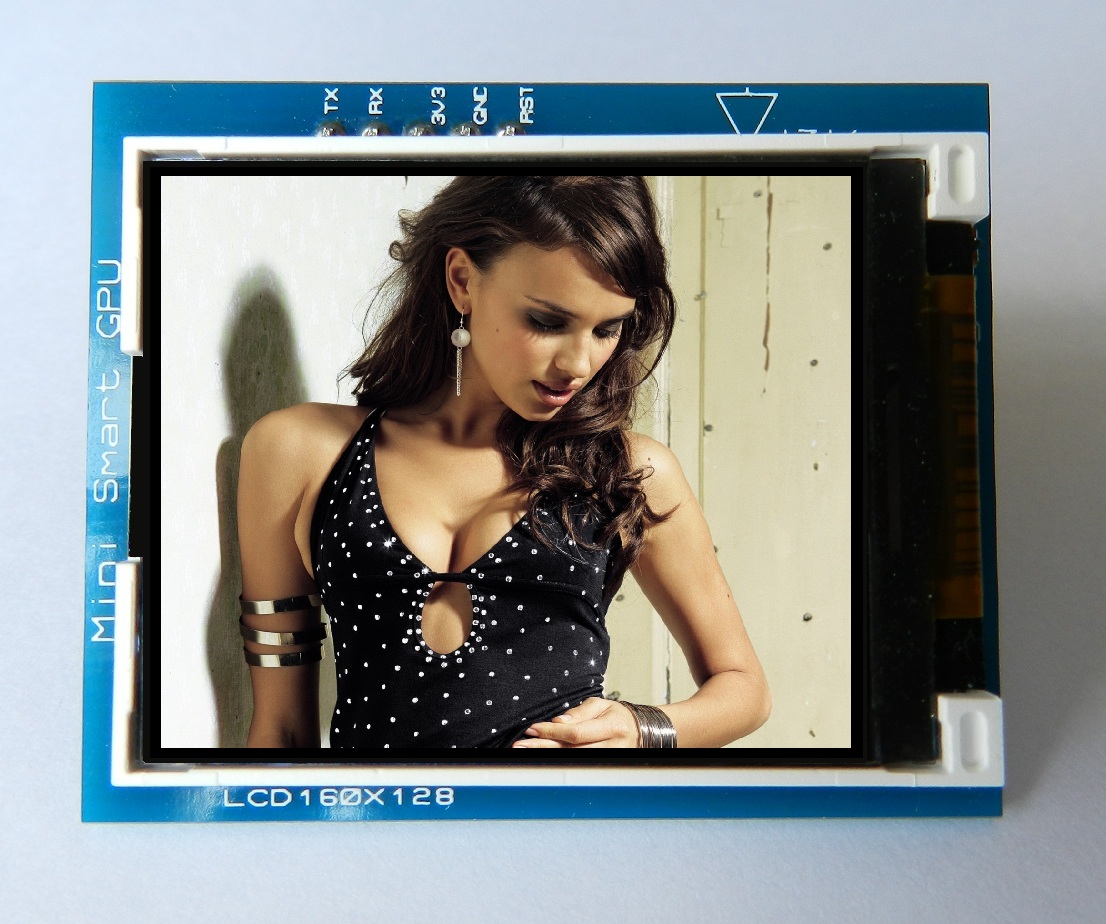
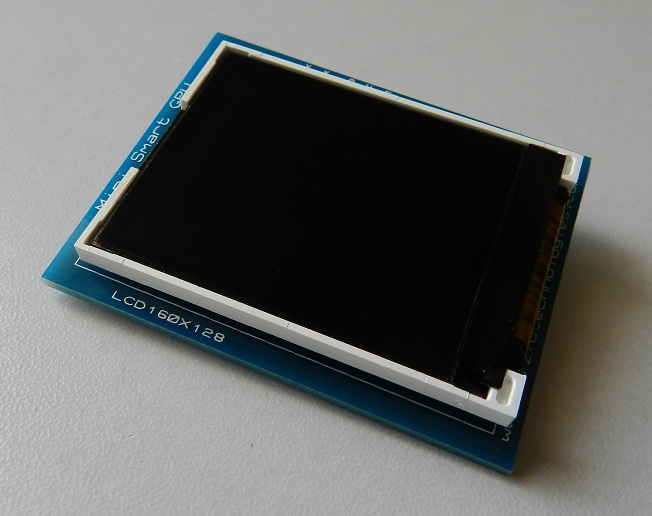
- 1.8" LCD capable of displaying 262,144 colors.
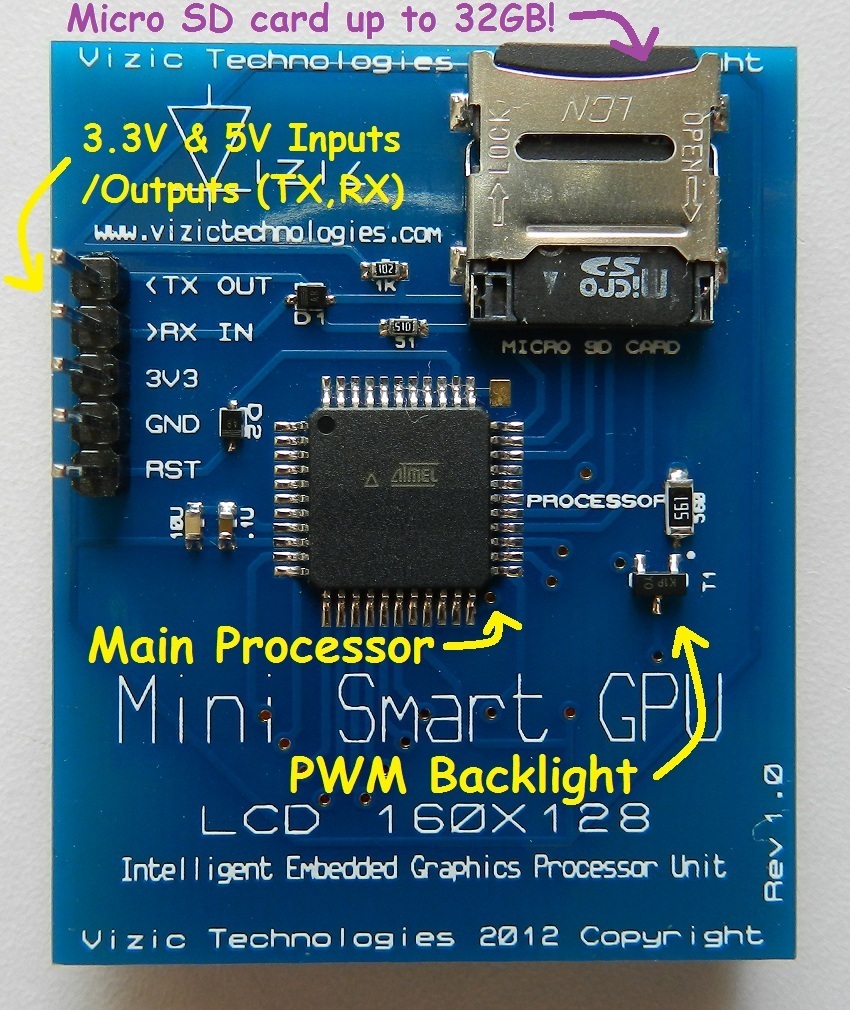
- Easy 5 pin interface to any host device: VCC, TX, RX, GND, RESET.
- On-board uSD/uSDHC memory card adaptor compatible with FAT(windows PC), Support up to 32GB for storing images and text.
- Integrated File management/Data logger functions(Create, Read, Write, etc).
- PWM controlled display brightness.
- Sleep mode.
- BaudRate speed up to 2Meg bps, 8 bits, no parity, 1 stop bit.
- 5V and 3V3 I/O compatible,3V3 power supply.
- Low-cost LCD display graphics user interface solution. Comprehensive set of built in high level graphics functions and algorithms that can draw lines, circles, text, and much more.
- 8 different fonts and sizes.
- compatible with any microcontroller(8051, pic, AVR, ARM, arduino, FPGAs,PC) and development boards with a UART.
MINISMARTGPU Images:
MINISMARTGPU explained
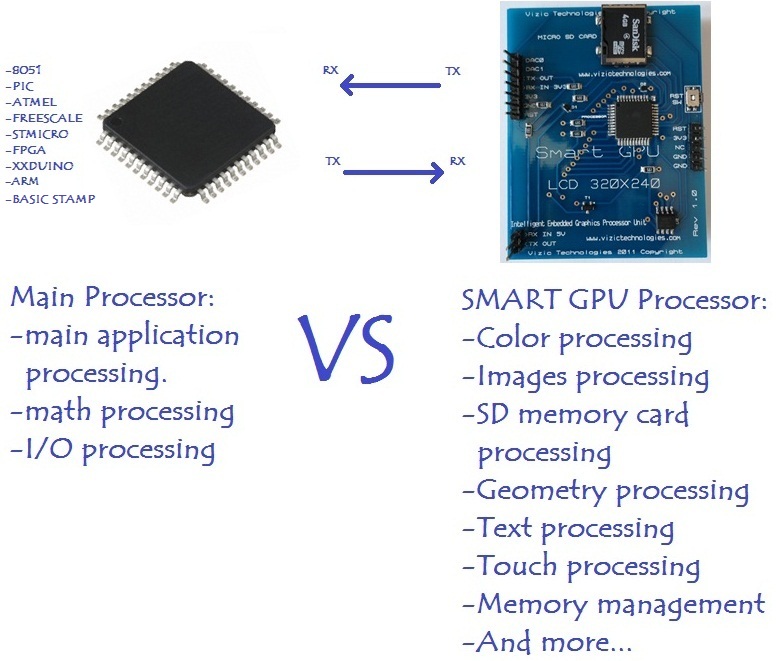
Comparison of processors loads:
MINISMARTGPU doesn’t need any configuration or programming on itself, it’s a slave device that only receives orders, reducing and facilitating dramatically the code size, complexity and processing load on your favorite main processor.
Connecting the MINISMARTGPU:
- You will need to power the screen with 3.3V.
- I/O pins for serial communication are 5V tolerant.
- If you use an external power source, make sure the Arduino ground and external power ground are linked otherwise the serial commands will not be received correctly by the screen.
- Use pin 13 of Arduino for reseting the screen(optional).
MINISMARTGPU Arduino Library:
- You can import the MINISMARTGPU Arduino Library from HERE.
- Once the folder is placed under "C:arduino-00XX\arduino-00XX\libraries\" and the Arduino IDE is re-started, just insert the:
#include <MINISMARTGPU.h>
in your main sketch and create the object:
MINISMARTGPU lcd; //Create the object
Example Code:
#include <MINISMARTGPU.h>     //include the MINISMARTGPU library!

MINISMARTGPU lcd;             //create our object called LCD

char message[]="Hello World";

void setup() { //initial setup
  //Those two functions must always be called for MINISMARTGPU support
  lcd.init();  //configure the serial and pinout of arduino board for MINISMARTGPU support
  lcd.start(); //initialize the MINISMARTGPU processor
}

void loop() { //main loop
  lcd.erase();                                         //erase screen
  lcd.putPixel(300,200,CYAN);                          //draw a pixel
  lcd.drawLine(50,50,150,100,WHITE);                   //draw a line
  lcd.drawRectangle(10,10,150,120,RED,UNFILL);         //draw a rectangle
  lcd.drawCircle(80,60,40,GREEN,UNFILL);               //draw a circle
  lcd.drawTriangle(15,15,150,120,180,70,BLUE,UNFILL);  //draw a triangle
  lcd.putLetter(100,100,MAGENTA,FONT3,TRANS,'E');      //write a single letter 'E'
  lcd.imageSD(0,0,"hydra160");                         //Open image "hydra160.bmp" stored on the microSD card
  lcd.string(10,10,159,127,YELLOW,FONT3,TRANS,"String test for MINISMARTGPU");  //write a string on the screen
  lcd.stringSD(5,50,159,127,MAGENTA,FONT3,TRANS,BEGINNING,ALLCONTENTS,"text1");  //call the text file "text1.txt" previously stored on the micro SD card
}
Videos:
Here are some videos of MINISMARTGPU + Arduino:
Demos & Source Code:
All the Source Code of those videos, and many other examples could be downloaded from HERE.
Notes:
- Images and microSD contents used on the examples could be downloaded from HERE.
- Feel free to use the library!
MINISMARTGPU board:
- The SMARTGPU board could be obtained from HERE.